Arduino Examples
Transistors
Description
Transistors are electrical components with 3 prongs. 1 of these prongs is a input prong. This prong should be connected to the positive Another of the prongs will be the output. This should be connected to the component that is using electricity(such as a LED) It should be connected to the side that would be connected to the positive side otherwise. The last prong is the switch prong. It should be connected to a source of controllable power(such as a pin on the arduino). Depending on the type of transistor, the transistor will only allow power from the input to output prong when power is applied or not applied to the transistor
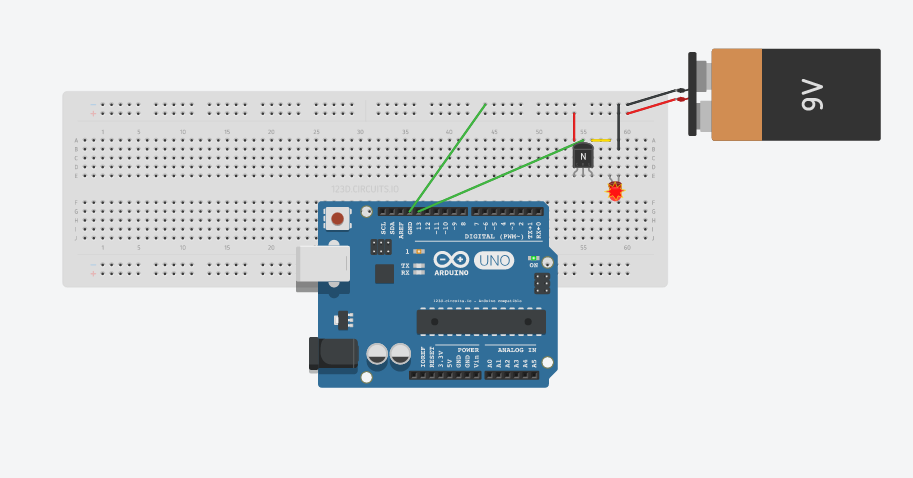
In the picture below the 9 volt battery powers the LED. However the arduino's pin 13 is connected to the central pin on the transistor. When pin 13 is "high"(on), the transistor will allow power through. When it is "low"(off) the LED will remain off. This allows the arduino to avoid powering the LED directly. This is especially useful with things that require more electricity than the arduino can provide. Note that the ground of the arduino is connected to the ground of the battery.
